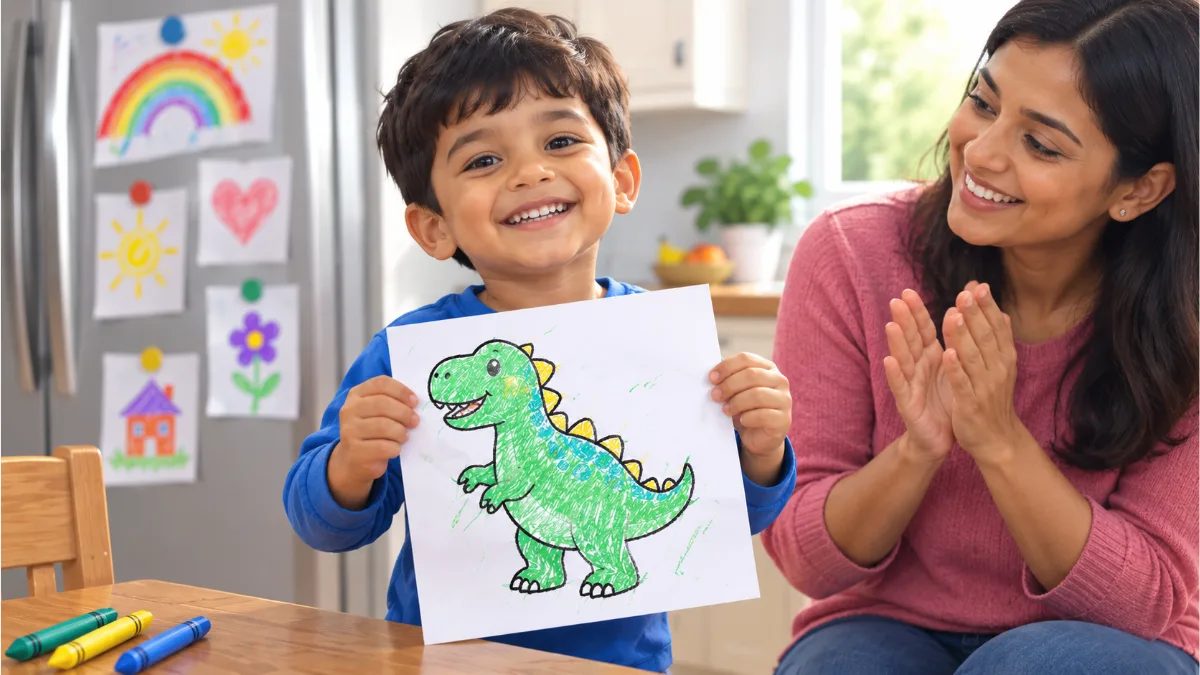
Coloring inside the lines is a skill most kids pick up slowly between about ages 3 and 6, and it has more to do with growing hands and eyes than with trying harder.
You print a cute page, hand over the crayons, and two minutes later the cat is purple, the sky is purple and so is a corner of the table. “Done!” Meanwhile your friend's child, the same age, colors like a tiny artist. It's hard not to compare.
This guide shows what coloring inside the lines looks like at each age, the hand skills behind it, and 10 simple ways to help at home or in a Pre-K classroom. You'll find free coloring pages to practice with at the end.
Quick takeaways
- Most children start coloring inside the lines between ages 3 and 5, and many do it fairly well by 5 or 6.
- Scribbling over the edges at 3 or 4 is a stage, not a problem.
- Small spaces with thick borders are easier than big, busy pictures.
- Praise the effort and the colors, not the neatness.
Coloring Inside the Lines by Age: What to Expect
Here's the usual path for coloring inside the lines from toddler to first grader. These are wide ranges, not deadlines.
Happy scribbler
Big, round scribbles with a fist grip. Lines are ignored, and that's right for this age.
Edge noticer
Starts aiming for the outline. Color still spills over often.
Mostly inside
Fingers take over more. Big shapes get colored mostly inside.
Fairly neat
Slows down near edges and fills smaller spaces.
Fine details
Handles thin lines, small parts and colored pencils.
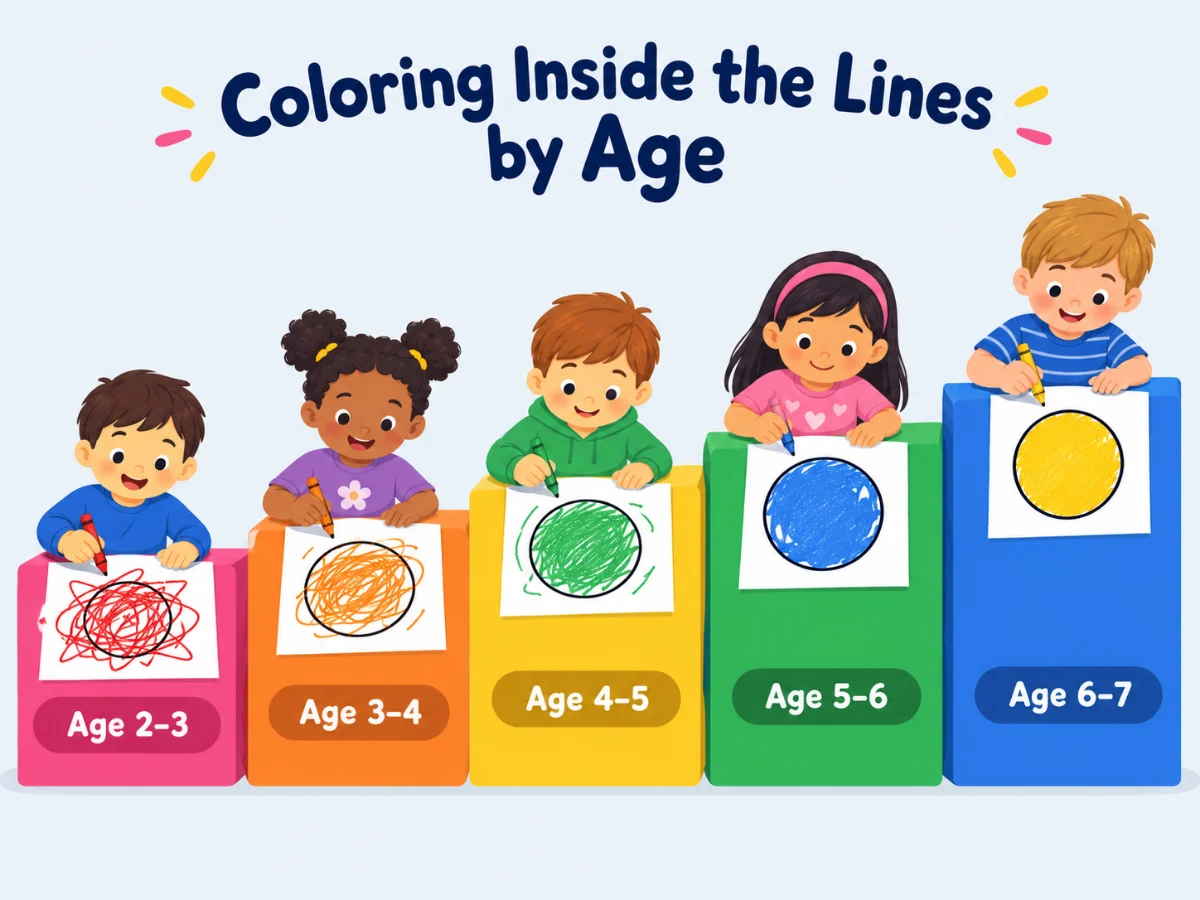
Where these ages come from: the CDC's milestones for 3-year-olds include drawing a circle when you show them how. Occupational therapists at The OT Toolbox say that around age 5, many children can copy a square and color inside the lines fairly well.
Is your 4-year-old still a happy scribbler? Plenty are. Some kids simply love movement and big color more than neat edges, and the skill catches up with practice.
The Hand Skills Behind Coloring Inside the Lines
Coloring inside the lines sits on top of five smaller skills. When one is still growing, the page looks messy. You can build every one of them through play.
| Skill | What it does | Build it with |
|---|---|---|
| Hand strength | Press hard enough for bright color without tiring | Playdough, tearing paper |
| Crayon grip | Fingers, not the fist, steer the crayon | Short crayons |
| Finger control | Small movements instead of arm swings | Small spaces |
| Eye-hand coordination | Eyes follow the edge while the hand moves | Tracing lines, mazes |
| Focus | Slowing down near the line | Short, calm sessions |
Grip is the one parents notice most. This picture shows how it usually changes.
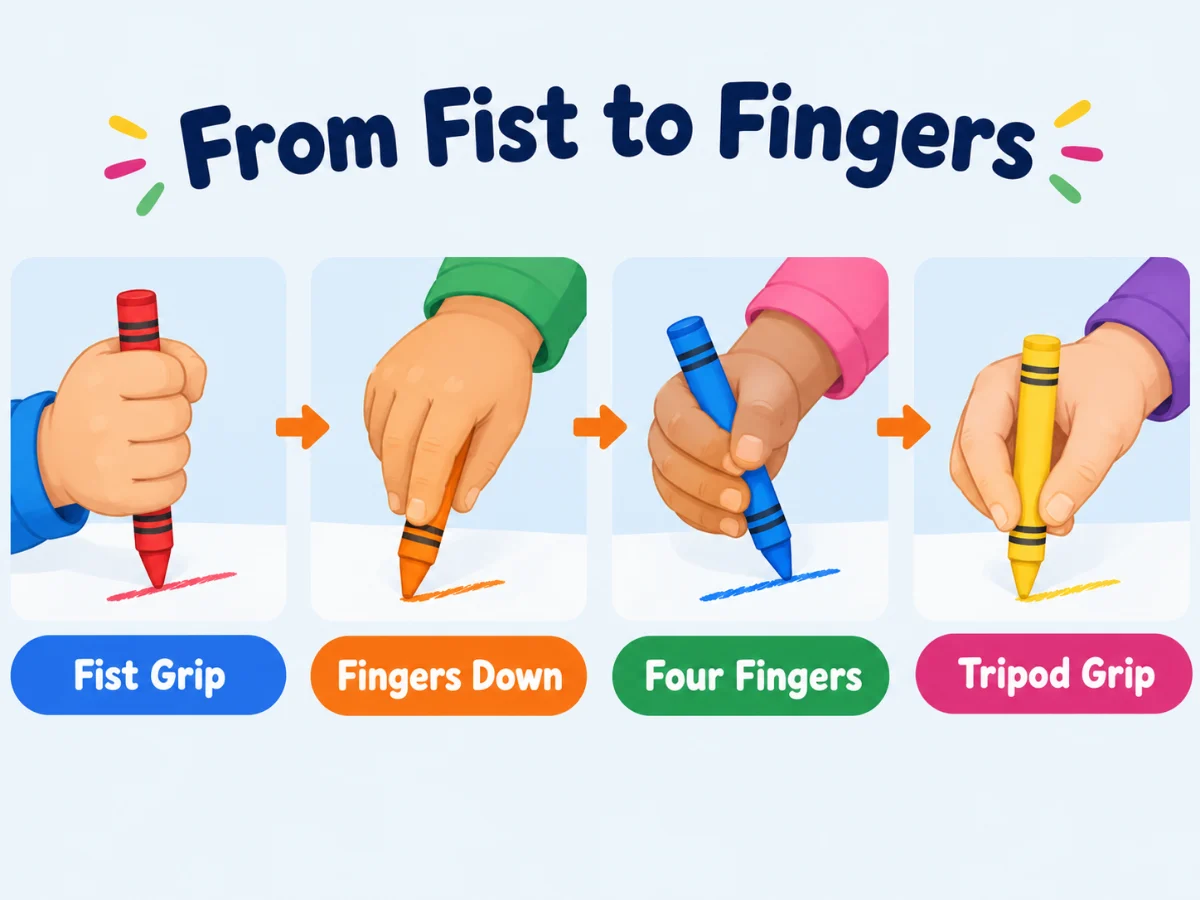
How to read this picture
- Fist grip (about 1 to 2): the whole arm does the moving.
- Fingers down (about 2 to 3): the hand sits on top, fingers pointing at the paper.
- Four fingers (about 3½ to 4½): fingertips hold the crayon and the wrist helps.
- Tripod grip (about 4½ to 6): thumb, index and middle finger work together. Coloring inside the lines gets much easier here.
The CDC's milestones for 4-year-olds include holding a crayon between the fingers and thumb rather than in a fist. A little behind? Common, and the tips below help.
Why Thick Borders Make Coloring Inside the Lines Easier
We tend to hand preschoolers big, detailed pages because they look fun. They're actually the hardest kind. Open spaces invite arm swings, and thin lines are hard to see.
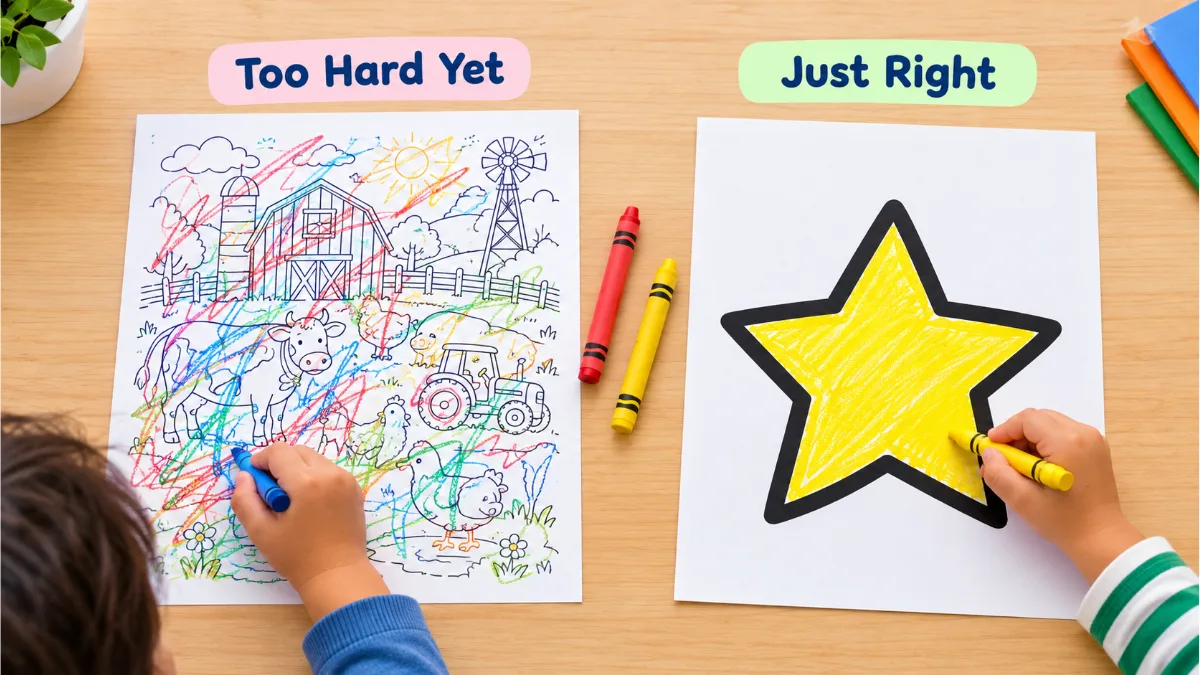
Too hard yet
Thin lines, tiny parts and shapes touching each other. Your child can't tell where to stop.
Just right
One simple shape, a border as thick as a crayon tip and a space small enough for the fingers to fill.
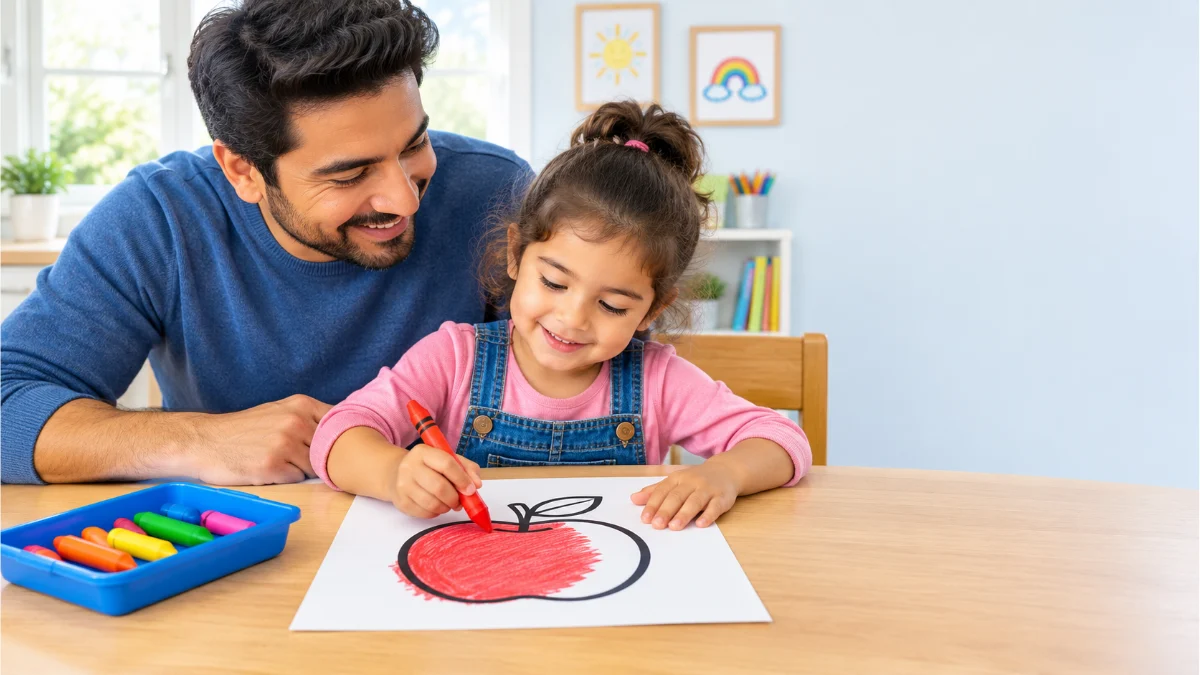
Start with round shapes like a sun, an apple or a circle, since curves need fewer changes of direction than corners. Our shapes worksheets for kids and circle tracing worksheet make good first pages. If your child still goes over a thick border, fine. The border is a guide, not a test.
How to Teach a Child to Color Inside the Lines: Tips 1 to 5
These five tips change the page and the crayon, not your child. That's how you help with coloring inside the lines without turning it into a lesson.
Make the Borders Bold
Ages 3 to 5
- How: go over the outline with a thick black marker so the edge is easy to see.
- Say: “Can your crayon stop at the black fence?”
Try a Glue Border
Ages 3 to 6
- How: trace the outline with white school glue and let it dry overnight. The raised line gives the crayon a bump to feel.
- Say: “Feel the bump? That's where the color stops.”
Add a Highlighter Lane
Ages 4 to 6
- How: draw a yellow highlighter band just inside the shape. Color the band first, then the middle.
- Say: “Yellow road first, then the inside.”
Break the Crayons
Ages 3 to 6
- How: snap crayons into one-inch pieces and peel the paper. A short piece is too small for a fist.
- Say: “Pinch it like a tiny bird's beak.”
Start Small and Round
Ages 3 to 5
- How: begin with circles and simple fruit before stars and detailed pictures.
- Say: “Let's go slowly around the apple.”
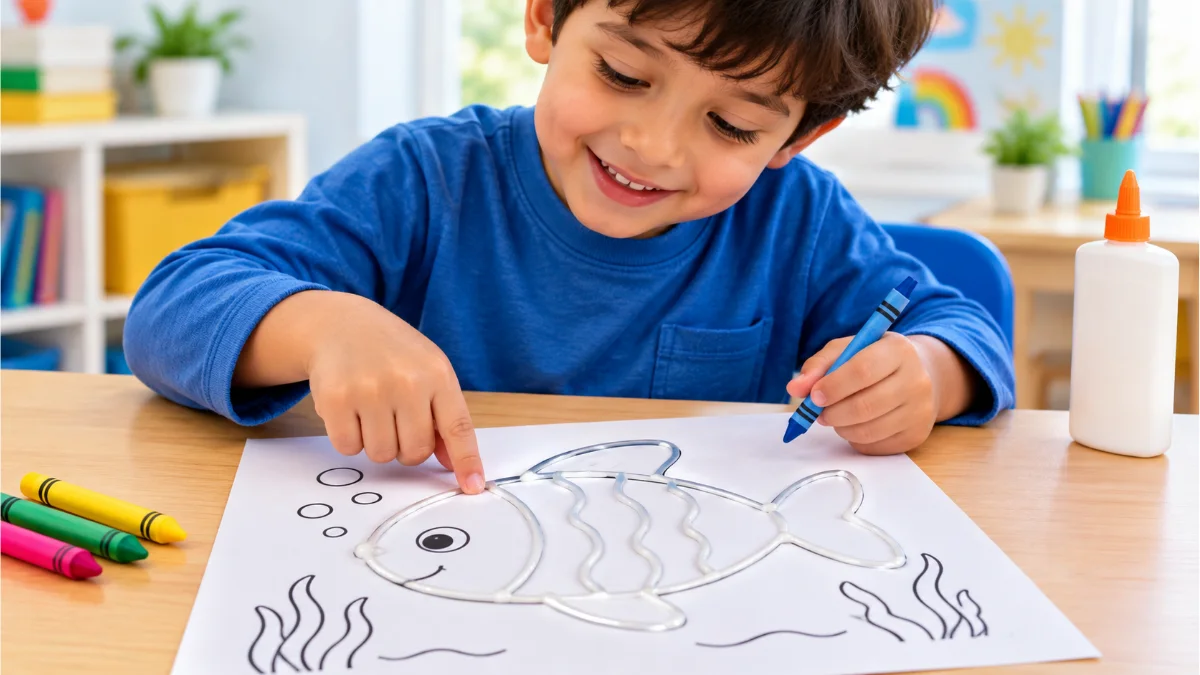
Therapists like the glue trick because kids feel the edge instead of only seeing it. Short crayons do something similar for grip:
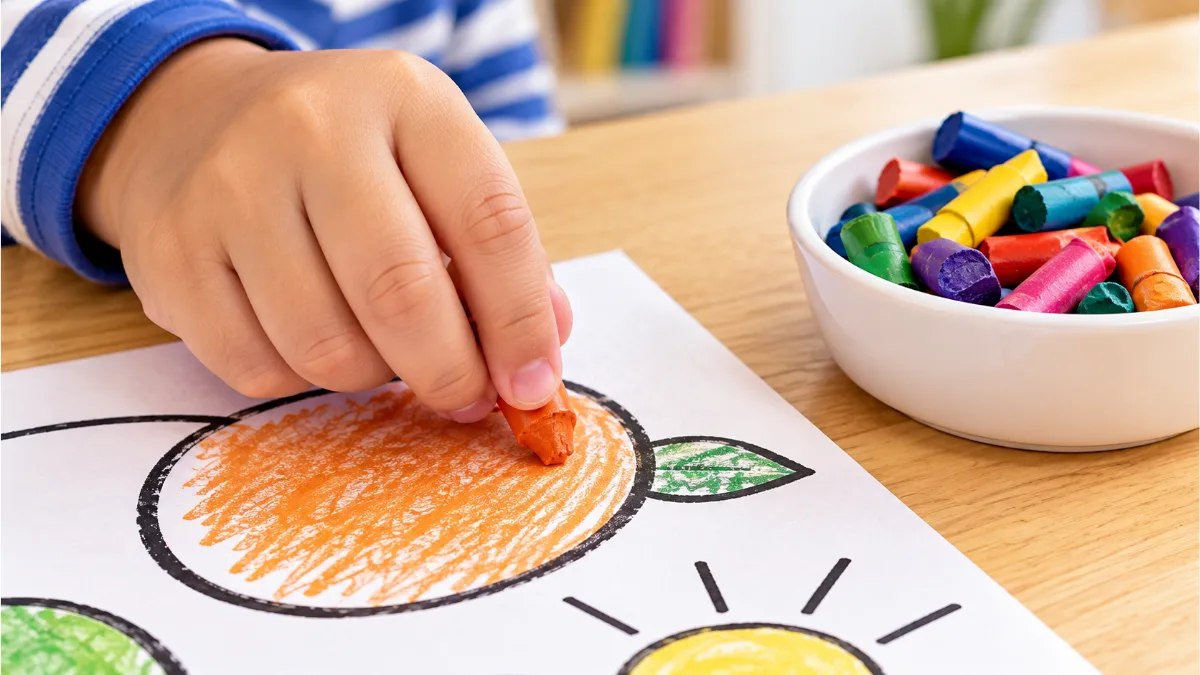
⚠️ Safety note: short crayon pieces can be a choking risk for kids who still mouth things. Stay close, or use chunky triangular crayons instead.
More Fun Ways to Help With Coloring Inside the Lines
These build the body skills underneath coloring inside the lines: wrist strength, focus and confidence. Pick two or three. You don't need all ten.
Color Standing Up
Ages 3 to 6
- How: tape a page to an easel, wall or window at eye level. A vertical surface builds wrist and shoulder control.
- Say: “Let's color like real artists today!”
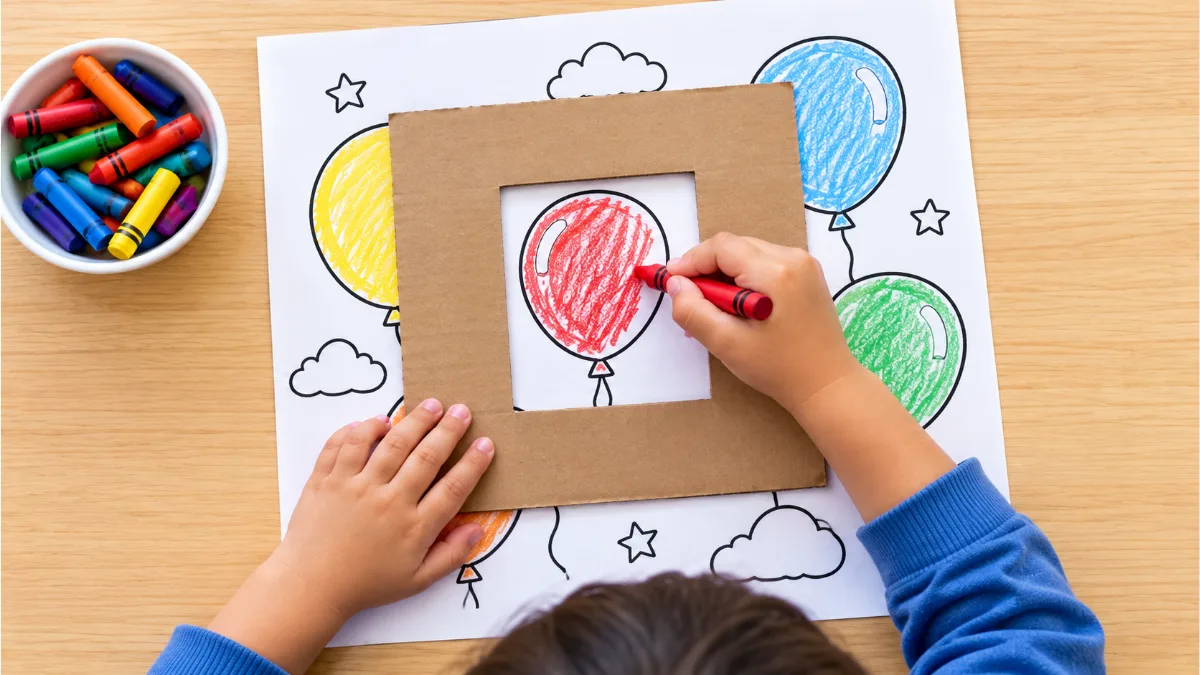
Use a Cardboard Window
Ages 4 to 6
- How: cut a square hole in cardboard and lay it over a busy page so only one shape shows.
- Say: “We're only coloring the part in the window.”
Edges First, Then the Middle
Ages 4 to 7
- How: color slowly around the inside of the outline, then fill the middle with back-and-forth strokes.
- Say: “Slow like a turtle on the edge, fast like a rabbit in the middle.”
Warm Up the Hands
Ages 3 to 6
- How: two minutes of squeezing playdough or tearing paper strips before coloring.
- Say: “Let's wake up our fingers first!”
Color Together, Praise Effort
Ages 3 to 7
- How: sit beside your child with your own page and color slowly near the lines. Don't correct theirs.
- Say: “You picked such bright colors!”
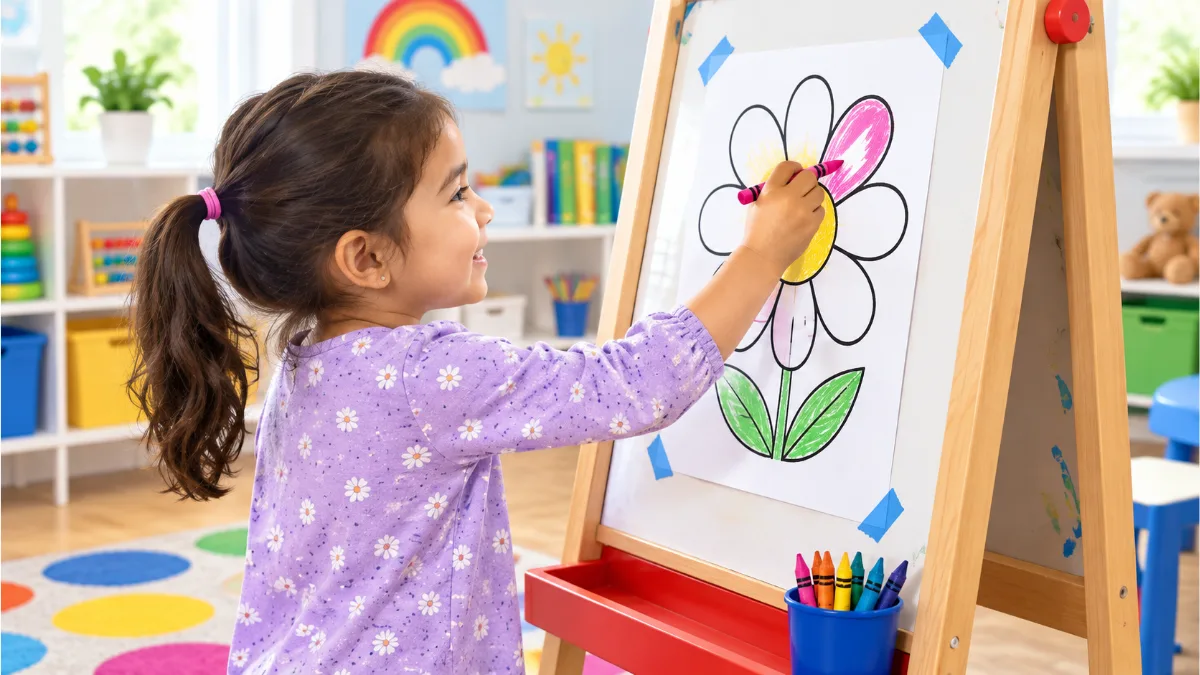
Most preschoolers treat easel coloring as a special treat, which makes it an easy rainy-day win. The cardboard window helps kids who get overwhelmed by a full page:
Some kids would rather color alone, and that's okay. Leave the short crayons and a cardboard window on the table and let them find it.
Free Printable Pages for Coloring Inside the Lines
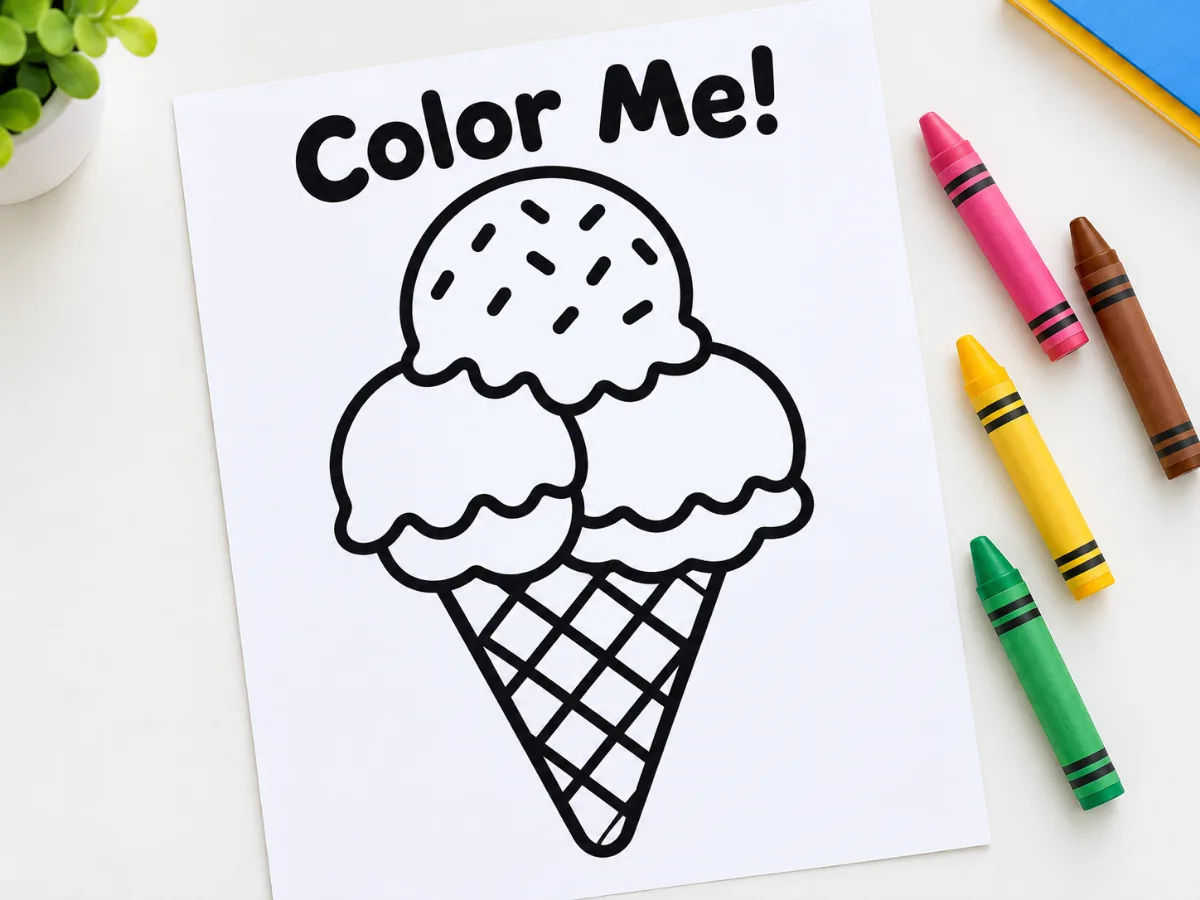
Kidzolearn's free worksheets use bold outlines and simple shapes, which suit coloring inside the lines practice for Preschool, Pre-K and Kindergarten. Print on US Letter or A4 with “Fit to page” on.
Free Coloring Pages for Little Hands
Bold outlines, simple shapes, no login. Print as many as you like.
Quick tips
- Darken the outline with a black marker for younger kids.
- Add a glue border to one shape the night before.
- Date each page and keep it so you can both see the progress.
Progress Over Perfection
Coloring inside the lines isn't a race. A purple cat with a little purple table is still a happy memory. With bold borders, short crayons and plenty of praise, most kids get there in their own time.
Try one or two tips this week, keep sessions short, and save a page each month to see how far your child has come. When you're ready, grab a few of our free printable worksheets for kids.